Attractiveness Test by Photo: How to Compare Photos More Fairly
A practical guide to choosing a clear photo, controlling the variables, and reading an AI photo score as image feedback rather than a verdict about you.
Written By
Clara Vale
Lifestyle and beauty technology writer focused on making image-based tools easier to understand and use with healthy perspective.
Editorial Note
Updated on August 10, 2026. This guide explains a photo-based AI estimate for informational use. It is not a medical, psychological, or objective measure of human worth.
The short answer
An attractiveness test by photo estimates how one submitted image looks to an AI model. It may react to visible facial balance, feature spacing, expression, lighting, sharpness, crop, and camera perspective. The result describes the picture in front of the model, not every way you look and not your value as a person.
For a more useful comparison, use one clear face, soft and even light, a comfortable camera distance, a mostly natural expression, and minimal editing. Test two or three photos with similar conditions, change one variable at a time, and treat small score differences as noise. If you want to run the test, use our free photo attractiveness test after reading the preparation checklist.
What an attractiveness test by photo actually measures
A photo-based test starts with pixels, not a complete impression of a person. The system first needs to find a face and read enough of the eyes, nose, mouth, jawline, and outer face shape to make an estimate. It then compares visible patterns with the kinds of faces and ratings represented in its training or scoring system.
That means the test has two layers. One layer is the face as it appears in the frame: apparent symmetry, spacing, proportions, and visible skin presentation. The other layer is the presentation of the photograph: light direction, camera distance, lens perspective, focus, crop, expression, and background contrast. A change in either layer can change the result even when the person is exactly the same.
This is why the best use case is usually photo selection. You can ask which of two reasonable profile pictures gives the model a clearer and more balanced visual read. You should not ask one image to settle whether you are attractive in every context, because a still frame cannot see personality, voice, movement, confidence, chemistry, or personal taste.
The four signals to keep separate
- Visible facial cues: Landmarks and apparent balance that the model can detect in the submitted frame.
- Photographic conditions: Light, lens distance, angle, focus, crop, and background that shape what the model can read.
- Model preferences: The patterns, labels, and cultural assumptions learned from the system's data and design.
- Real-world attraction: A much wider human experience that includes presence, style, warmth, context, and individual taste.
How to prepare a better photo attractiveness test
The goal is not to manufacture a perfect face. The goal is to make the input stable enough that the comparison tells you something about the photos instead of mostly telling you about camera problems. A repeatable setup also makes it easier to understand why one image moved up or down.
Start with one person and a face that is easy to see. Put the camera close to eye level, step back far enough to avoid an extreme wide-angle selfie, and crop after taking the picture. Soft window light or evenly diffused front light is usually easier to interpret than strong overhead light, deep side shadows, or bright glare. Keep filters and aggressive retouching out of the baseline test.
A relaxed neutral expression is a useful starting point because it gives you a reference. After that, you can compare a natural smile or a mild angle if those images match your real use case. The important part is to keep the first photo as a baseline instead of changing lighting, expression, distance, and crop all at once.
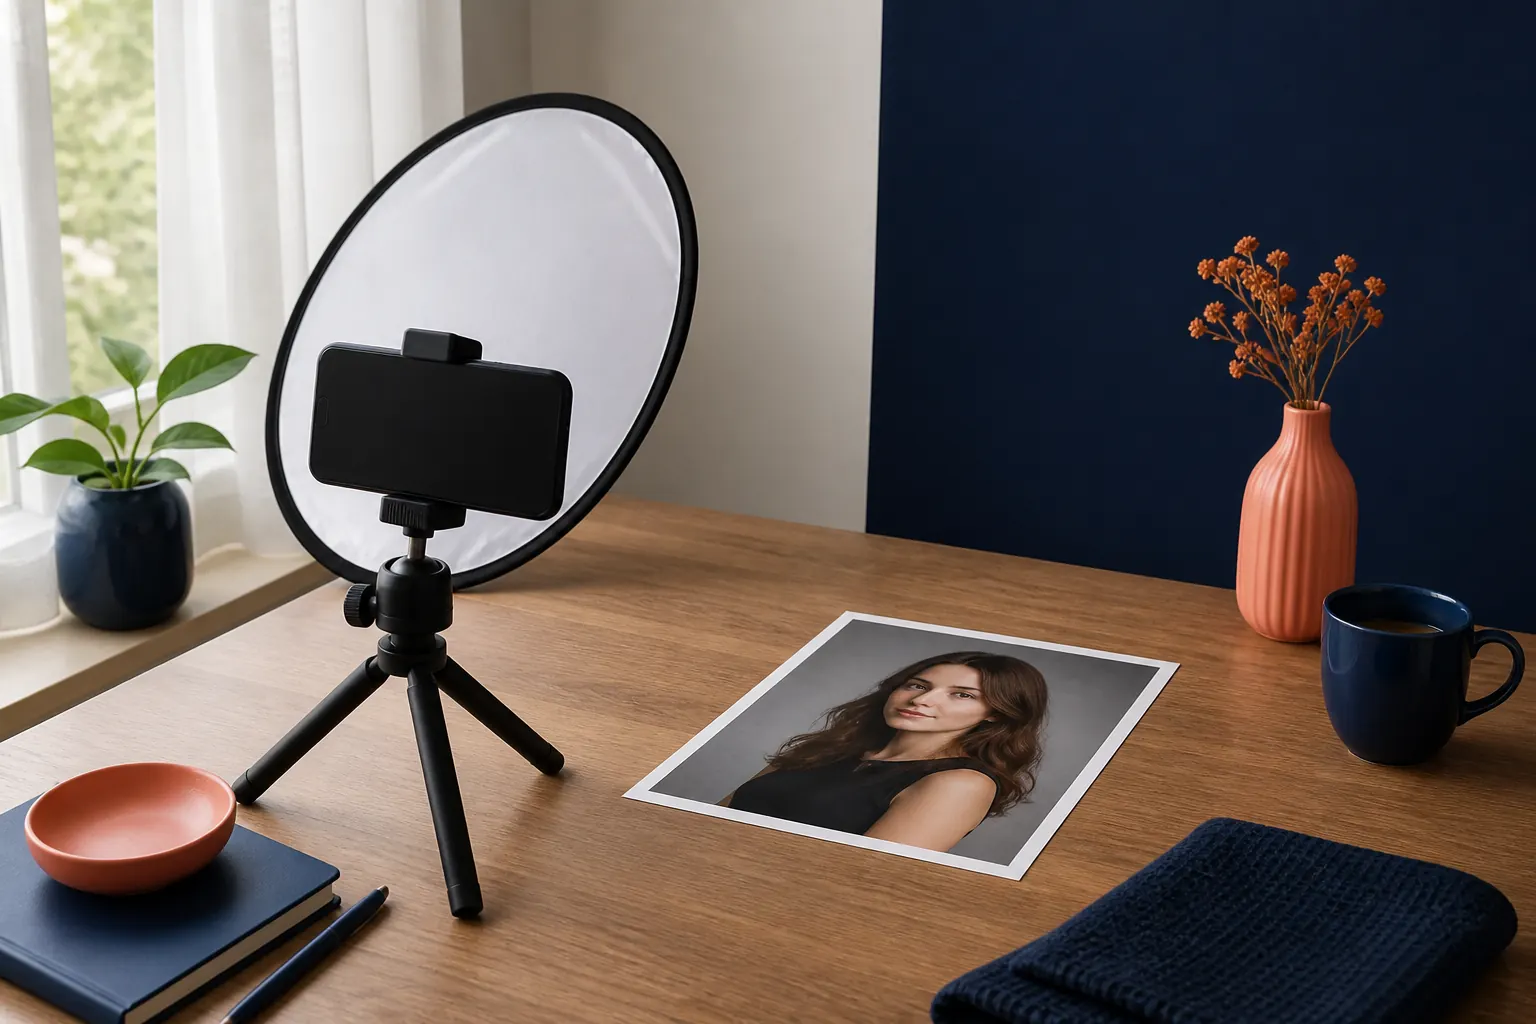
One visible face
Crop out other people and keep the eyes, nose, mouth, jawline, and face outline reasonably clear.
Soft, even light
Choose window light or a diffused lamp so shadows do not exaggerate one side of the face.
Comfortable distance
Move the phone back and crop later to reduce the perspective distortion of a close selfie.
Minimal editing
Avoid filters, skin smoothing, and extreme contrast when you want a baseline rather than an edited result.
Why the same person can receive a different result
A score can move because an AI model is reading the image, not because your underlying face changed. The closer two photos are in quality and framing, the more useful their difference becomes. When the photos are radically different, the score gap may simply reflect which one gives the system cleaner evidence.
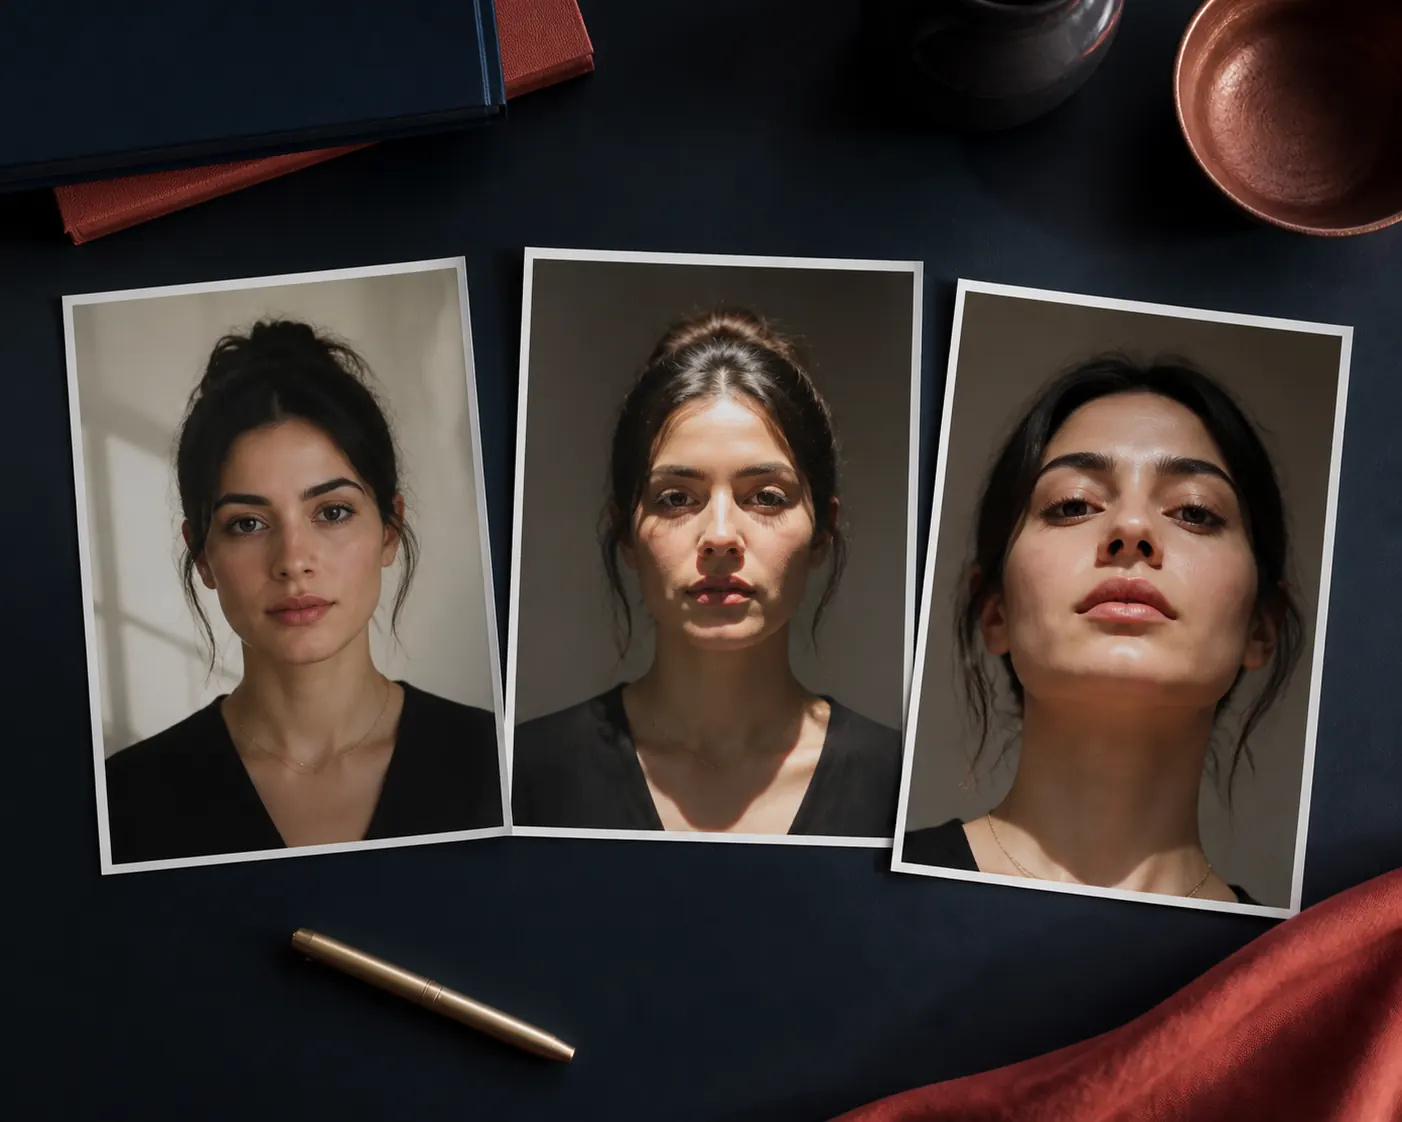
The table below is a practical troubleshooting guide. It does not promise that a particular light or pose will raise a score. It shows which variables are worth controlling when your aim is a fairer comparison.
| Variable | Possible effect | Better comparison choice |
|---|---|---|
| Lighting direction | Overhead or hard side light can deepen shadows and make balance look less even. | Use soft front or window light with similar brightness on both sides. |
| Camera distance | A very close wide-angle selfie can enlarge the nose or lower face and compress the sides. | Step back, keep the lens near eye level, and crop after capture. |
| Head angle | A tilt or strong three-quarter angle changes visible spacing and the apparent jawline. | Start with a straight, comfortable baseline before comparing angles. |
| Expression | Tension, a large smile, or a half-closed eye can change how landmarks and warmth read. | Compare similar expressions, then test a natural smile separately. |
| Filters and sharpness | Smoothing, blur, or heavy contrast can hide or invent visual cues. | Use a clear, lightly processed image for the baseline. |
A simple three-photo comparison process
If you are asking, “How attractive am I from a picture?”, it is tempting to upload every selfie until one number feels reassuring. That approach creates more noise than insight. A short, controlled comparison is kinder and more informative.
Use the same basic setup for the first two photos. Then change one meaningful element, such as expression or angle, so you can connect a result change to something visible. If you change lighting, crop, distance, and smile at the same time, you will not know which difference mattered.
- Choose a baseline: Use a recent, single-person portrait with clear eyes, soft light, moderate distance, and little editing.
- Add one close comparison: Take a second photo with nearly the same crop and light, changing only the expression or a small angle.
- Test a real-use photo: Try the profile picture, avatar, or headshot you may actually use, even if its composition is different.
- Look for patterns: Notice repeated effects in lighting, crop, distance, and expression instead of chasing the highest isolated number.
When two scores are close
Treat small gaps as a tie. Choose the image that is clear, authentic, relevant to the setting, and comfortable to share. A slightly higher score is not automatically a better dating photo, social avatar, or professional headshot.
How to interpret the result without overreading it
The most useful question is, “What did this photo communicate to this model?” That question keeps the result attached to a specific frame. It can lead to practical changes, such as moving the camera back, choosing softer light, or selecting a crop that keeps the face readable.
A lower result does not prove that you are unattractive. It may reflect an awkward camera distance, a difficult shadow, an unfamiliar expression, a blocked feature, or model preferences that do not represent your appearance well. A higher result is not a guarantee of attention, compatibility, confidence, or real-world chemistry either.
Remember that an AI estimate is only one lens. Use it alongside your own judgment and the purpose of the image. If the score makes you feel trapped in repeated checking, stop testing and choose the photo that makes you feel most like yourself.
A healthier way to use the score
- Treat it as photo feedback: Use the result to compare presentation choices, not to rank your identity.
- Prefer repeat patterns: A difference that appears across several strong photos is more useful than one dramatic result.
- Keep privacy in mind: Only upload images you have permission to process and are comfortable sending to an online service.
- Stop at a useful answer: More tests can add anxiety and random variation once the practical lesson is clear.
Attractiveness test by photo FAQ
Ready to compare a real photo?
Use a clear, single-person image and apply the checklist above before you upload. The tool is best used to compare pictures and learn which presentation choices make your features easier to read.
For the meaning behind a score, continue with the longer guide to how attractive am I.
Further reading
- This page is an informational guide to image-based AI estimates, not a medical, psychological, or universal beauty assessment.
- The photo test tool reports visible image feedback; results can vary between models, versions, and image conditions.
- For broader context about scores and bias, read the site's How Attractive Am I? and AI Attractiveness Guide pages.
- Do not upload another person's image without permission, and review the site's privacy policy before using an online image service.